
Technique16 min read
How to make classic napa cabbage kimchi at home
Salting the cabbage and fermenting it are two different processes, and the first one decides most of the result. The salt ratios, the standard seasoning proportions, and the temperatures that set how fast it sours.
This piece has not been translated into Español yet, so you are reading the English original. Translations are published after review, never automatically.
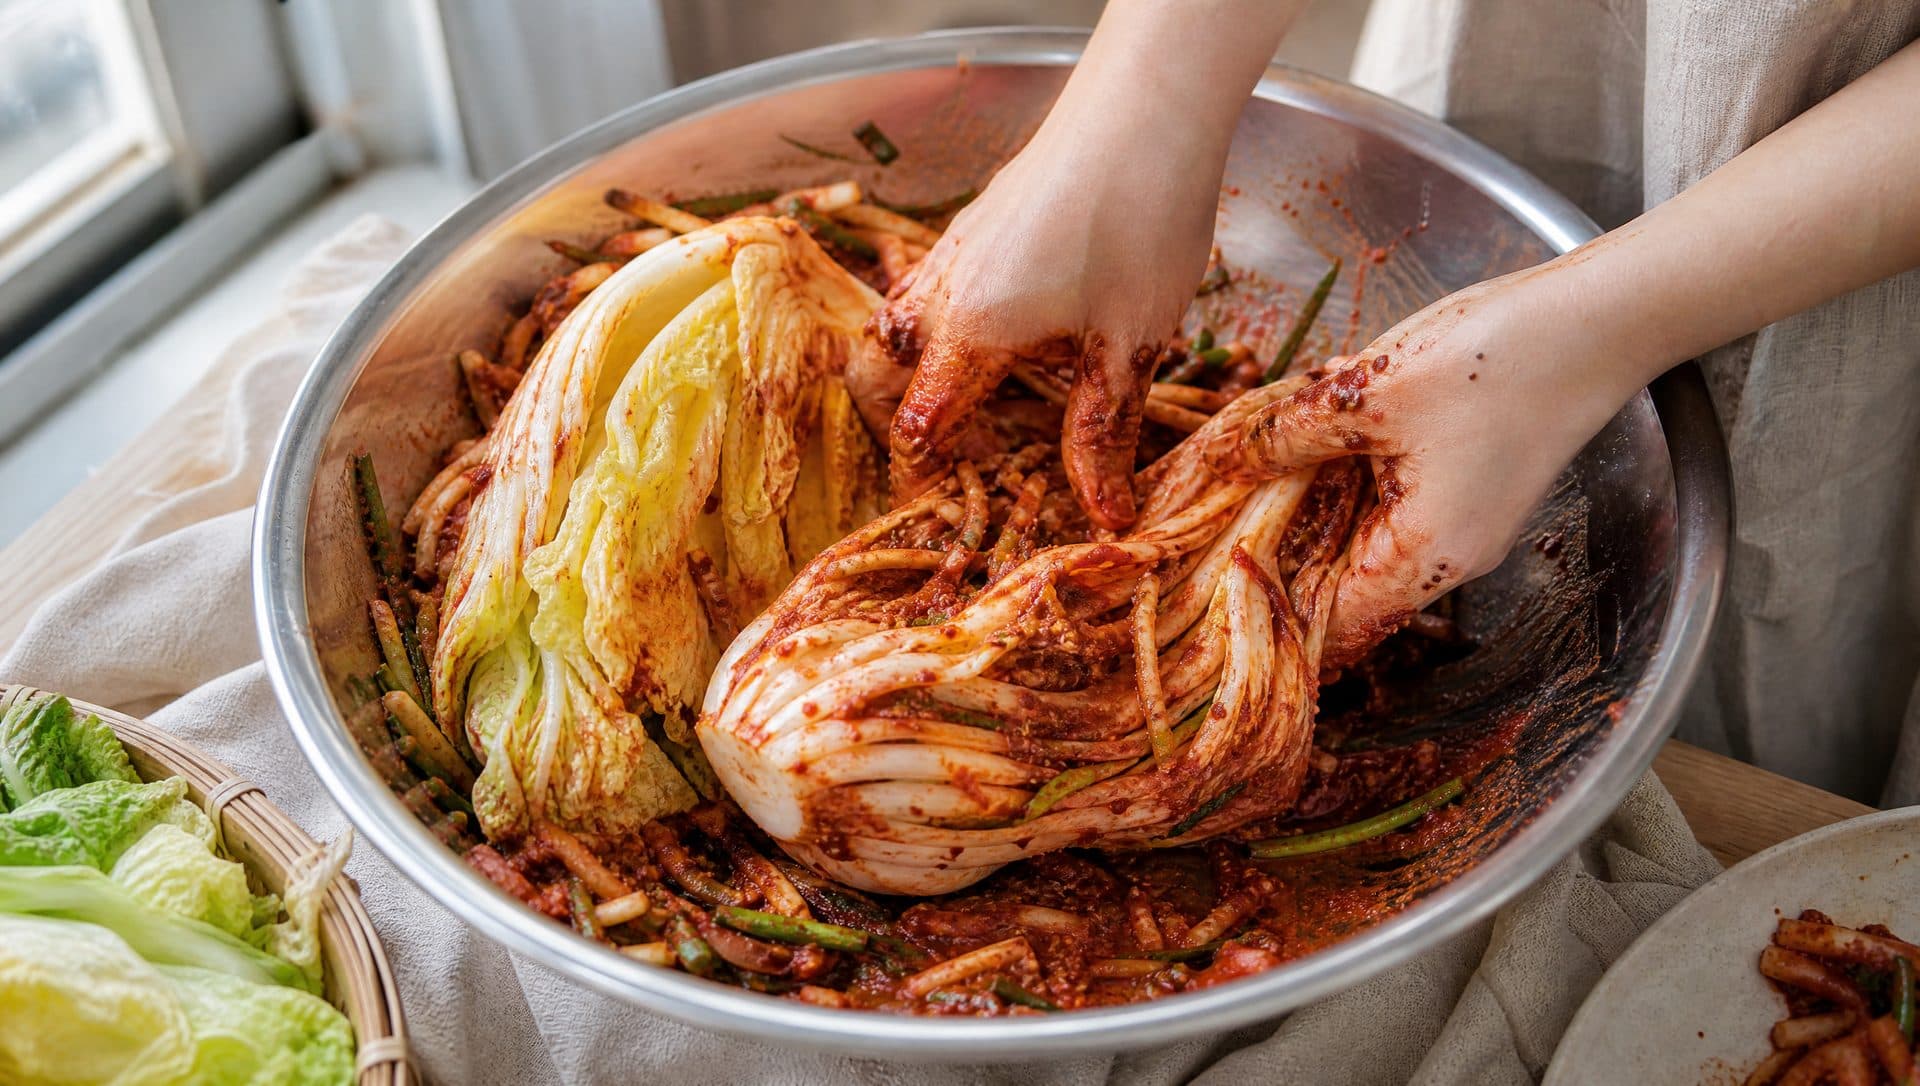
Making kimchi (김치) is two separate processes that people tend to blur into one. First you salt napa cabbage (배추, baechu) in brine until a thick rib bends without snapping, which takes roughly 10 to 12% salt and around fifteen hours. Then you coat the drained leaves in a seasoning paste and let lactic acid bacteria finish the job, briefly at room temperature and then slowly in the fridge.
Almost everything that makes kimchi good or bad is decided in that first step. The seasoning is where the flavour comes from, but the salting is where the texture and the shelf life come from, and it is the part most home recipes describe least precisely.
What you actually need
The ingredient list for classic cabbage kimchi is short. What varies between households is proportion, not contents.
| Ingredient | Korean | What it does |
|---|---|---|
| Napa cabbage | 배추, baechu | The vegetable. Loose leaf structure holds seasoning between the layers |
| Coarse sea salt | 천일염, cheonilyeom | Draws water out of the leaves and sets the fermentation pace |
| Korean chilli flakes | 고춧가루, gochugaru | Colour, fruitiness, mild heat |
| Garlic | 마늘, maneul | Pungency and antimicrobial pressure on unwanted organisms |
| Ginger | 생강, saenggang | Aromatic sharpness |
| Fermented seafood | 젓갈, jeotgal | Umami and free amino acids. Usually fish sauce or salted shrimp |
| Korean radish | 무, mu | Cut into matchsticks, gives the paste body and sweetness |
| Glutinous rice porridge | 찹쌀풀, chapssalpul | Helps the paste cling, and feeds the bacteria |
| Spring onion | 파, pa | Fresh allium note through the finished jar |
The evidence behind each line, and the main kinds of jeotgal by region, are in the seven core ingredients of kimchi, and what each one does.
You do not need a special vessel. A glass jar or a food-grade plastic container with a lid that closes is enough, as long as you can press the kimchi down so the brine covers it.
Choosing and cutting the cabbage
Buy the cabbage before you buy anything else, because its weight sets every other quantity.
Look for a head that feels heavy for its size with tightly packed leaves and firm white ribs. A light head has lost water already and will not brine predictably. Autumn cabbage is denser and sweeter than summer cabbage, which is why kimjang (김장), the communal late autumn kimchi making, happens when it does. Summer heads work, but they are softer and need less time in the brine.
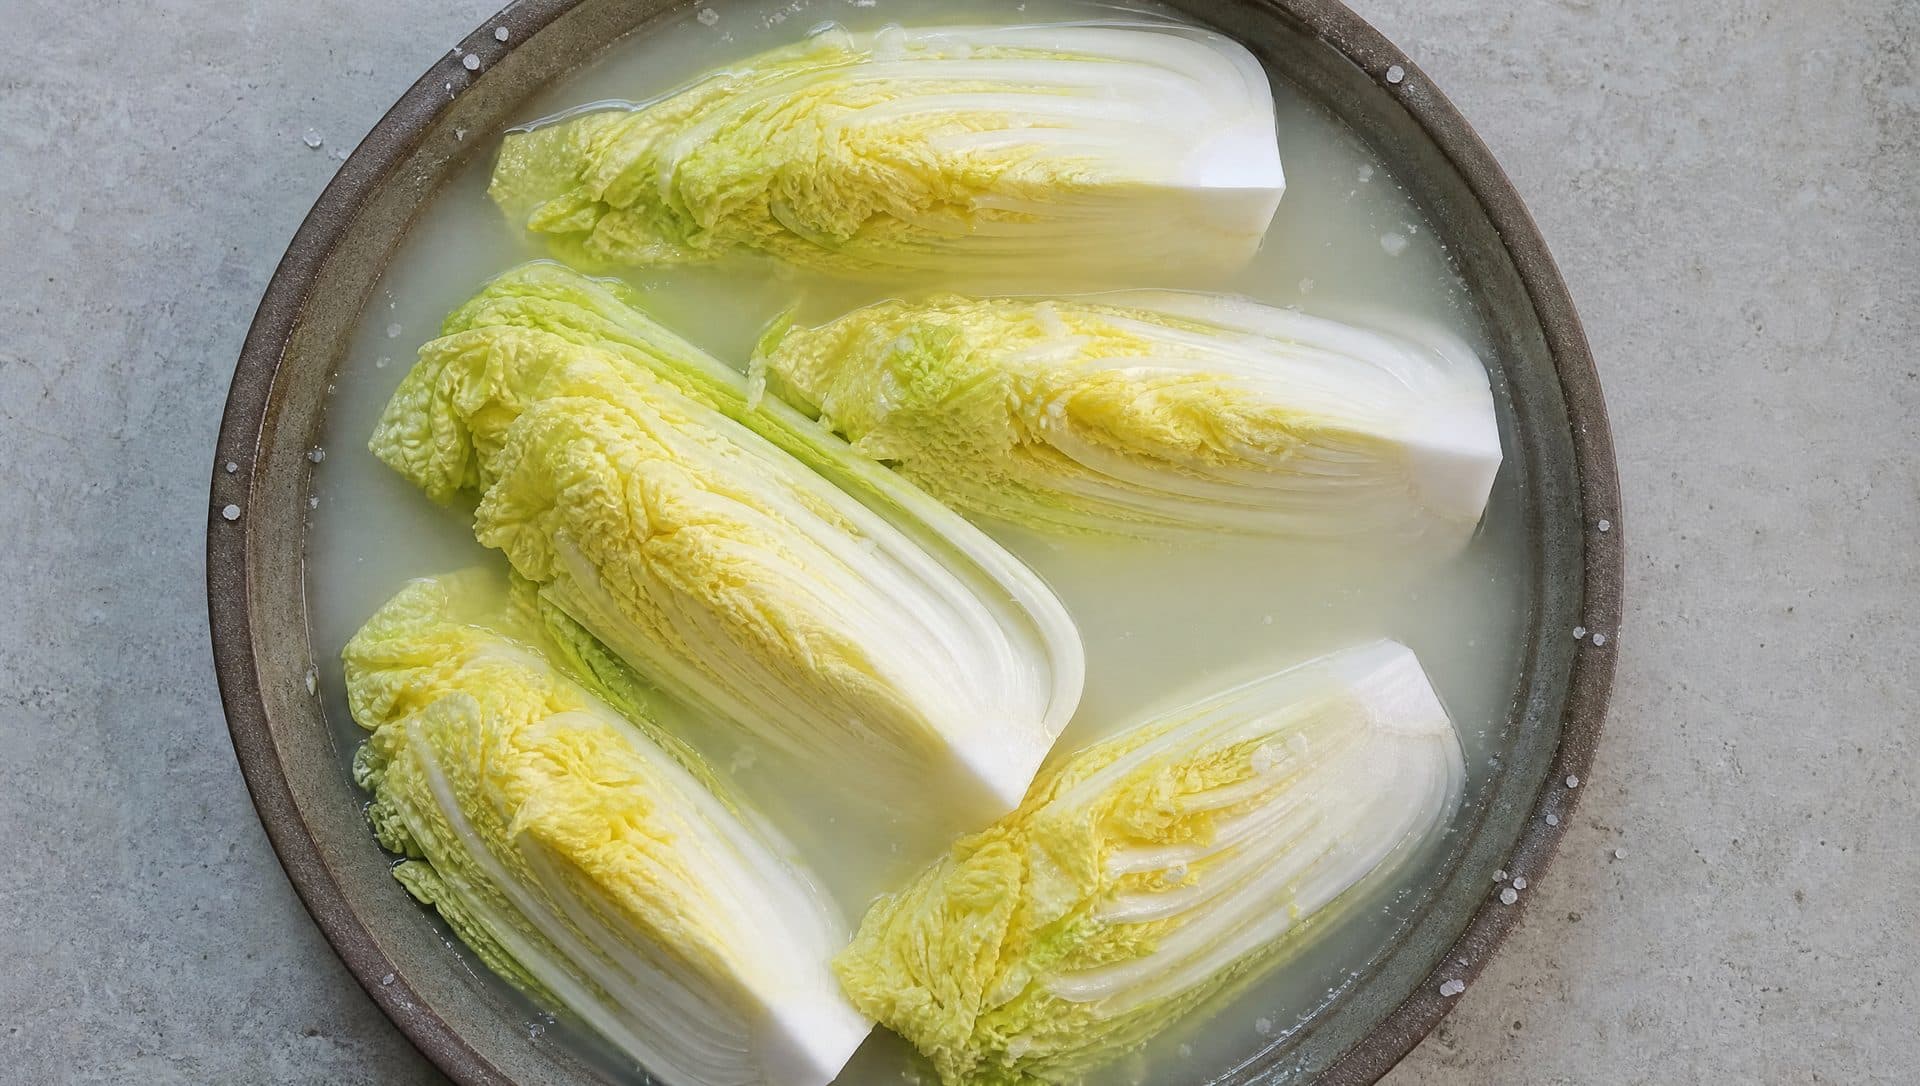
Cut the head in half lengthways through the root, then in half again to make quarters. Do not slice all the way through from the leaf end. Score the stem end about a third of the way up and pull the halves apart by hand, so the leaves tear along their natural lines and stay attached at the root. Leaves cut with a knife separate into loose pieces in the jar; leaves torn along the grain hold together and hold seasoning between them.
Leave the root in place while salting. It holds the quarter together through the rinsing and drying, and you trim it off later if you want to.
Discard damaged outer leaves but keep one or two good ones. They are useful at the end for pressing over the top of the packed jar.
How much salt does a cabbage need?
This is the question that stops most people, and published recipes answer it inconsistently because there are two different methods and they use different numbers.
The brine method submerges quartered cabbage in salted water. The dry method rubs salt directly between the leaves, concentrating it in the thick white ribs where water is hardest to remove. Many Korean households do both at once: a weaker brine to sit in, plus salt packed into the ribs.
For the brine method, the numbers have moved over the last few decades.
| Approach | Brine strength | Roughly how long |
|---|---|---|
| Traditional standard | 15% | 6 to 7 hours at higher strengths |
| Common practice now | 10 to 12% | 12 to 18 hours |
| Measured optimum | 10.53% | 15.38 hours at 19.17°C |
That last row is not a rounding of the others. Researchers at the World Institute of Kimchi (Song, Moon and Ha) ran a response surface study using a Box-Behnken design to find the brining conditions that pull the most water out of the cabbage while putting the least salt in. The answer came out at 10.53% brine, 15.38 hours, 19.17°C. Across all the conditions they tested, the resulting cabbage measured between 1.81% and 3.55% salt.
The reason the optimum sits where it does is that salt uptake and water loss do not move together. Push the brine stronger and you get the water out faster, but you also drive more salt into the tissue than the finished kimchi needs. Longer and weaker gets you the same dehydration at a lower salt cost.
What the cabbage should measure afterwards
Brined cabbage should land at about 1.5 to 2.0% salinity, with the seasoning paste mixed slightly saltier at 2.1 to 2.2% so the whole jar settles in the right range.
Finished kimchi today sits around 2% salt. Historically it was closer to 3.5%. That drop is deliberate and it changes how you store the result: less salt means faster souring, so modern kimchi depends on refrigeration in a way that a 3.5% jar in a buried onggi did not.
If you have a refractometer or a salinity meter, use it. If you do not, the bend test below is what Korean cooks have always used and it works.
How do you know the salting is finished?
Take a quarter out of the brine and bend a thick white rib backwards. It should curve most of the way over without snapping. A rib that cracks needs more time. A rib that flops with no resistance at all has gone too far, and there is no recovering it.
Rinse the salted cabbage in cold water three times and drain it properly, cut side down, for at least half an hour. Water left clinging to the leaves dilutes the seasoning you are about to make.
Two failures come out of this stage. Cabbage that has not lost enough water keeps losing it later, in the jar, thinning the brine and flattening the taste. Cabbage that has lost too much never gets its texture back. We wrote about why this step decides so much in Salt, and why the first step decides everything after it.
What goes in the seasoning, and how much
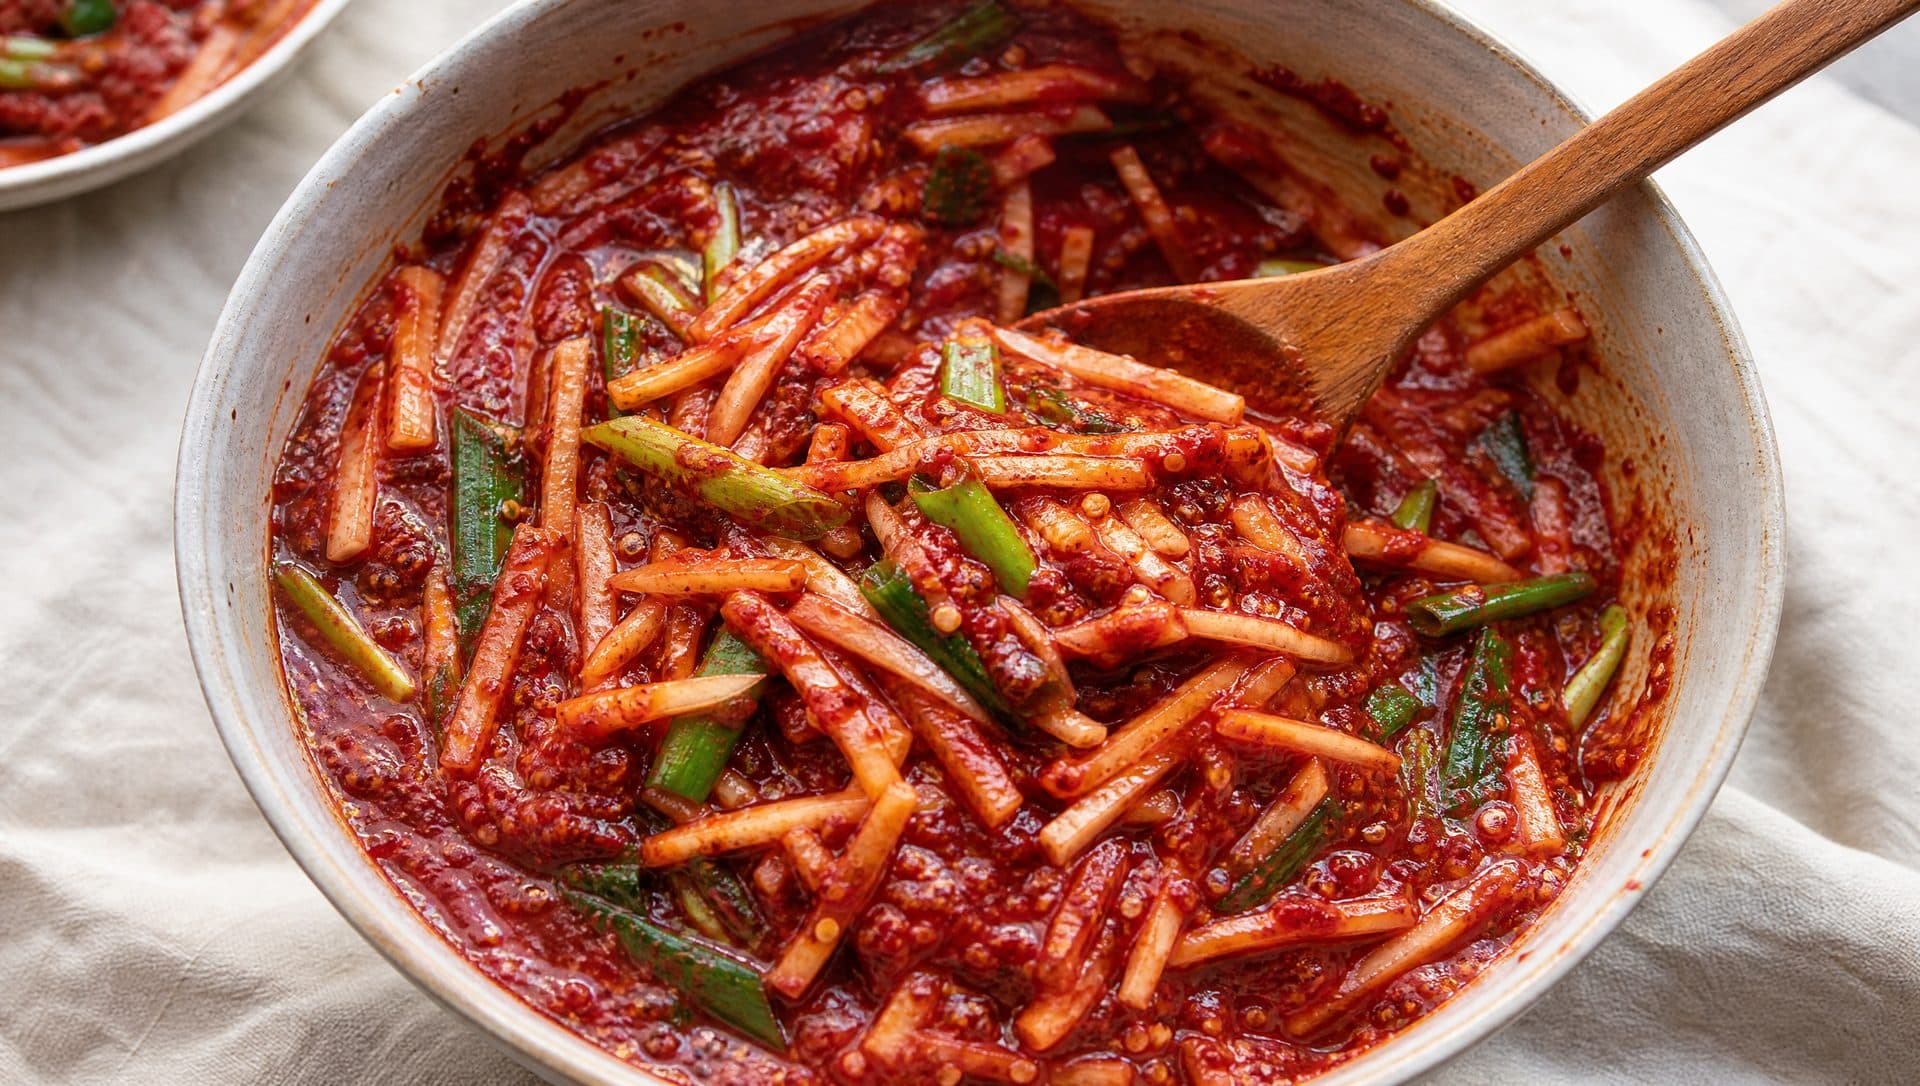
Here the guesswork is avoidable, because the Rural Development Administration standardised it. Their comprehensive kimchi seasoning formulation gives proportions by weight against the cabbage.
| Component | Parts per 100 parts cabbage |
|---|---|
| Gochugaru | 4.5 |
| Garlic | 2.0 |
| Ginger | 0.9 |
| Jeotgal | 5.0 |
| Glutinous rice porridge | 8.5 |
| Sesame | 0.5 |
| Sugar | 0.5 |
Worked through for two kilograms of drained, salted cabbage, that comes to roughly 90 g gochugaru, 40 g garlic, 18 g ginger, 100 g jeotgal, 170 g rice porridge, 10 g sesame and 10 g sugar.
Treat this as a centre of gravity rather than a rule. Regional practice moves well away from it in both directions, and Jeolla province in particular seasons far more heavily than these numbers suggest. What the standard is good for is a first batch, and for diagnosing a batch that came out wrong.
Radish matchsticks and spring onion go in on top of this, by volume rather than weight, until the paste looks like it will coat the leaves rather than sit on them.
Which gochugaru
Coarse flakes and fine powder behave differently enough that swapping one for the other changes the jar. Coarse gives you visible flecks and a clearer brine; fine disperses and clouds it. Most cabbage kimchi uses coarse, or a mix weighted towards coarse. That distinction is worth understanding before you buy, and we covered it in Gochugaru: coarse, fine, and what actually changes.
Avoid substituting other chilli powders. Cayenne and paprika are not interchangeable with gochugaru on either heat or sweetness, and the colour will be wrong. If you cannot get gochugaru at all, we set out what each stand-in changes in choosing gochugaru, and what to use when you can't find it.
Which jeotgal
Two are standard and they are not interchangeable. Anchovy sauce (멸치액젓, myeolchi aekjeot) is darker and stronger, and it deepens as the kimchi ages. Salted shrimp (새우젓, saeujeot) is lighter and cleaner, and it lets the chilli and garlic stay in front.
Many households use both, leaning on one or the other. Which one dominates is one of the clearest regional markers in Korean kimchi, and assuming the wrong one is a common mistake in English language writing about it. Southern coastal provinces lean heavily on anchovy and other strongly fermented sauces; the central regions use more salted shrimp.
If you are making your first batch, salted shrimp is the more forgiving choice. It is harder to overdo, and a jar that turns out slightly under-seasoned is easier to live with than one that tastes overwhelmingly of fish.
Vegetarian substitutions work, but replace the salt as well as the flavour. Jeotgal is carrying part of the seasoning salinity at 5 parts per 100, so a batch made with kelp stock instead needs that accounted for or it will finish under-salted.
Why cook a porridge first?
The glutinous rice paste looks like a thickener and it does thicken, but that is not the main reason it is there.
Starch in the porridge undergoes saccharification, breaking down into simpler sugars that the lactic acid bacteria can eat. Giving the bacteria an accessible food source at the start speeds up the early fermentation and raises the lactic acid the culture produces, which is where a lot of the deep, clean sourness comes from. The Gwangju Kimchi Town materials describe this directly: the paste promotes fermentation and adds to the rounded taste of the finished kimchi.
It also has a practical effect on aroma. The mild, grain-like flavour of the cooked rice softens the raw edge of the jeotgal, which is why batches made without any porridge can taste more aggressively fishy in the first week.
Cook it thin enough to pour, and cool it completely before it meets the chilli and garlic. Warm porridge in the paste starts the fermentation before the kimchi is in the jar.
How long does it ferment, and at what temperature?
Temperature is the control you actually have. Everything else is set once the jar is closed.
| Temperature | Time to optimum ripeness | pH at that point |
|---|---|---|
| 20°C | 2 days | 4.41 |
| 15°C | around 3 days to reach pH 4.0 to 4.5 | 4.0 to 4.5 |
| 4°C | 35 days | 4.97 |
Two things are worth reading out of that table. The first is how steep the curve is: raising the temperature from 4°C to 20°C compresses more than a month into two days. The second is that the endpoint is not identical. Kimchi that ripens slowly in the cold arrives at a higher pH than kimchi rushed at room temperature, and it tastes different for it, which is the practical argument for the long cold route rather than the fast one.
The window most people are aiming for is 0.4 to 0.8% lactic acid, pH 4.2 to 4.5. Below that range it is still raw and sharp. Above it you are into sour kimchi, which is not a fault but is a different ingredient.
In practice: leave the sealed jar at room temperature for one to two days, until you can see bubbles moving when you press the surface and the brine has risen, then move it to the fridge. In a warm kitchen a single day may be plenty. Taste it before you commit it to the cold.
There is a food safety line here as well as a flavour one. Fermentation drives the pH below 4.6 within about two weeks, and below that threshold most foodborne pathogens cannot establish. That is the reason the early room temperature phase is short and the long phase is cold.
Packing the jar
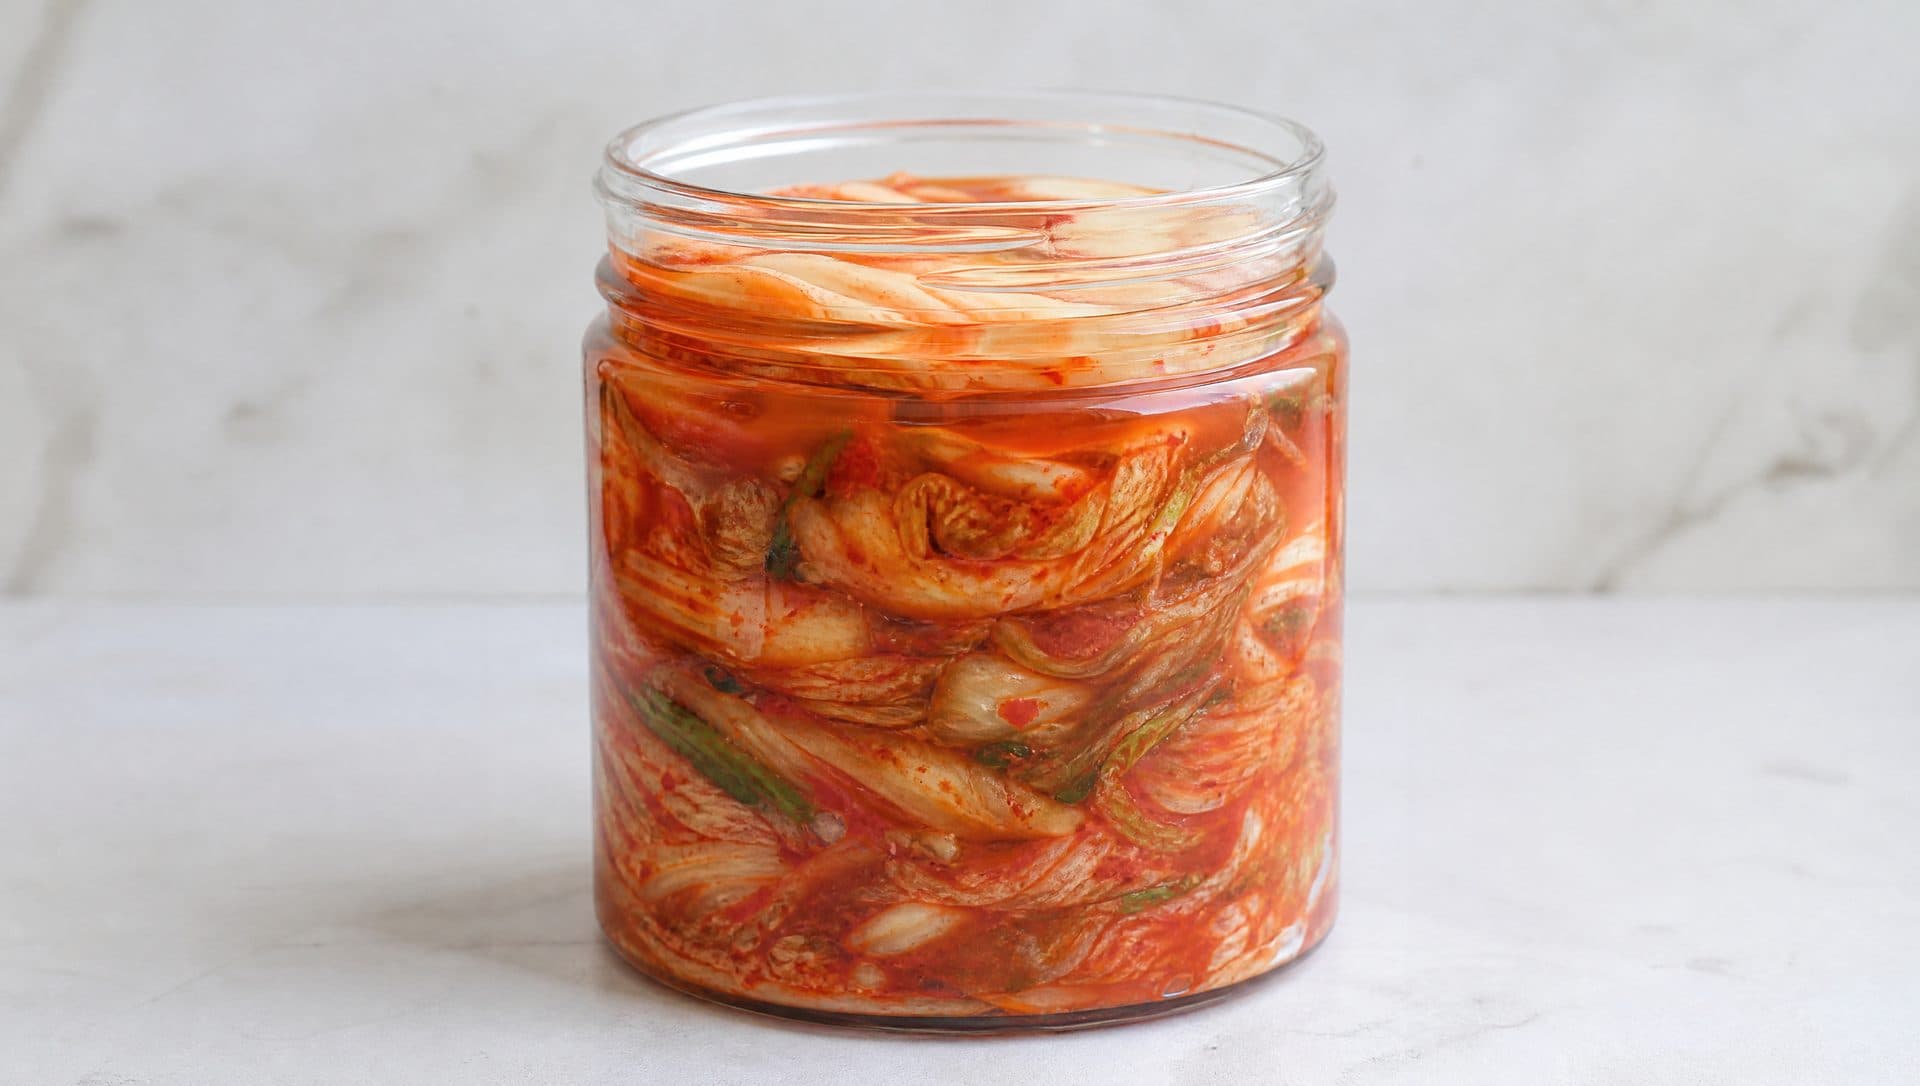
Press the coated cabbage down firmly as you fill, working out air pockets as you go. The brine should rise to cover the top of the kimchi. If it does not quite make it, a folded outer cabbage leaf laid over the surface and pressed down will hold everything under the liquid.
Leave headroom. Active fermentation produces carbon dioxide and a jar filled to the rim will push brine out around the seal. A few centimetres is enough.
Anything sitting above the brine will oxidise and can develop surface yeast. That is the single most common cause of a spoiled looking top layer on an otherwise fine jar.
A timeline you can follow
Laid out end to end, the process takes about three days of elapsed time and maybe ninety minutes of actual work.
| Stage | Time | What you are doing |
|---|---|---|
| Cut and brine | 15 min work, then 12 to 18 hours | Quarter the cabbage, submerge in 10 to 12% brine |
| Test and rinse | 30 min | Bend test, three cold rinses, drain cut side down |
| Cook the porridge | 15 min plus cooling | Thin glutinous rice paste, cooled completely |
| Mix the seasoning | 20 min | Gochugaru, garlic, ginger, jeotgal, radish, spring onion |
| Coat and pack | 30 min | Paste between every leaf layer, press into the jar |
| Room temperature | 1 to 2 days | Until bubbles move when you press the surface |
| Refrigerate | Weeks to months | Slow ripening, best eating from about a week |
The only stage with a hard deadline is the move to the fridge. Everything else tolerates being interrupted.
Scaling up
The proportions hold at any size, which is what makes the standard formulation useful. Doubling the cabbage doubles everything else.
What does not scale linearly is the brining. A larger volume of cabbage in the same container packs tighter, and the quarters in the middle sit in brine that the outer ones have already partly used up. For anything beyond three or four heads, rotate the quarters halfway through so the ones at the bottom come to the top.
Kimjang batches of twenty or more heads are a different exercise, done with several people, wide flat basins rather than jars, and often with cabbage bought already brined. Buying pre-brined cabbage is now common in Korea for exactly this reason, and it removes the step with the most variance in it.
What usually goes wrong
The jar filled with water and the taste is thin. The cabbage was under-salted and kept releasing water after it went in. There is no fix mid-batch. Next time, salt longer rather than stronger.
The leaves went limp within a week. Over-salted, or salted for too long. The bend test was already past the point where it should have stopped.
It soured in four days instead of three weeks. It sat at room temperature too long before going cold, or the fridge is warmer than you think. Kimchi at 20°C reaches its optimum in two days, so an extra day on the counter is not a small difference.
It never sours at all. Usually too cold from the start, with nothing eating in between. Kimchi moved straight into a cold fridge without any room temperature phase can take well over a month to develop.
A white film formed on the surface. Kimchi exposed above the brine line. Skim it, push everything back under the liquid, and check the seal.
Frequently asked questions
How much salt do I need per cabbage?
Work from brine concentration rather than from the cabbage. Prepare enough 10 to 12% brine to submerge the quartered cabbage completely, and leave it for roughly 12 to 18 hours depending on how warm the room is. The measured optimum from the World Institute of Kimchi is 10.53% brine for 15.38 hours at 19.17°C. Aim to end up with cabbage at 1.5 to 2.0% salinity.
Can I make kimchi without fish sauce?
Yes. Replacing jeotgal with kelp stock, soy sauce or fermented soybean changes the umami profile and makes the result vegan. It ferments perfectly well, because the bacteria are eating sugars rather than the seafood. Expect a cleaner and slightly less deep flavour. We compared the substitutes, and what the change does to the bacteria and the salt, in vegan kimchi: does removing fish sauce change the benefits?
Do I have to use Korean chilli flakes?
For kimchi that tastes like kimchi, yes. Gochugaru contributes more colour and fruitiness than heat, and other chilli powders are ground differently and taste hotter and sharper. Baek kimchi, made with no chilli at all, is a better option than a substitute chilli if you cannot get gochugaru.
How long before I can eat it?
You can eat it immediately as fresh kimchi (겉절이, geotjeori), which is closer to a salad. For the fermented taste, one to two days at room temperature then at least a week cold. The full ripeness window at refrigerator temperature is around five weeks.
How long does homemade kimchi keep?
Months in the fridge, and it keeps changing the whole time. It does not spoil so much as pass through stages, getting progressively more sour. Once it is past the point you enjoy eating raw, it becomes the preferred ingredient for stews and fried rice rather than something to throw out.
Why is my kimchi bitter?
Usually under-rinsed after salting, leaving concentrated surface salt that reads as bitter, or gochugaru that has been stored badly and gone stale. Old chilli flakes lose their sweetness before they lose their heat.